


项目创建在IDEA中创建即可。
注意点:
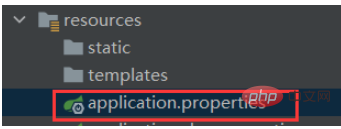
1、所有文件都需要放在 :
Application文件的同级或下级目录中
2、application.properties 为 spring-boot 项目主核心配置文件,且只能有一个核心配置文件。
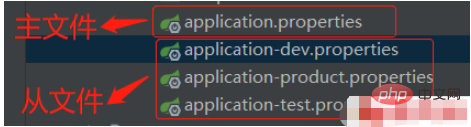
3、多环境下的核心配置文件的使用, 文件名必须以 application- 开头!
application-xxx.properties
(1)开发环境
# 开发环境配置文件 server.port=9000 server.servlet.context-path=/
(2)测试
# 测试环境配置文件
(3)生产环境
# 生产环境配置文件 server.port=7000
在主核心配置文件中激活我们自定义的配置文件:
#激活我们编写的application-xxx.properties配置文件 spring.profiles.active=dev
4、@Value 注解
spring-boot核心配置文件 自定义的配置属性,如何获取
下边方式只能一个一个属性获取!
比如:在application.properties文件中自定义了一个配置 website=http://www.baidu.com
在项目中获取到这个自定义的配置:
使用注解 @Value("${website}")
也可以写一个默认值,如果配置项没有,会使用默认值@Value("${website: 默认值}")
package com.lxc.sprint_boot_01.web; import org.springframework.beans.factory.annotation.Value; import org.springframework.stereotype.Controller; import org.springframework.web.bind.annotation.RequestMapping; import org.springframework.web.bind.annotation.ResponseBody; import javax.management.ValueExp; import javax.print.DocFlavor; // 声明控制层 @Controller public class IndexController { @Value("${website:values}") private String name; // 此时website值会赋给name属性 @RequestMapping(value = "/self") @ResponseBody public String self() { return name; } }
5、@Component 和 @ConfigurationProperties(prefix="xxx") 注解
spring-boot核心配置文件 将我们自定义的配置属性,映射为一个对象(获取的是一个对象),使用这种方式的前提:配置文件中的属性必须要写前缀!
application.properties文件
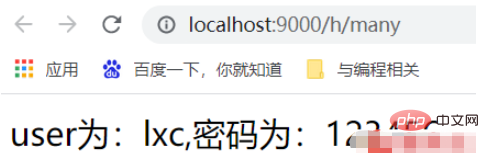
# 属性前边必须要有前缀,我这里前缀是user user.name=lxc user.password=123456
config -> user.java文件
package com.lxc.sprint_boot_01.config; import org.springframework.boot.context.properties.ConfigurationProperties; import org.springframework.stereotype.Component; @Component // 将此类交给spring容器管理 @ConfigurationProperties(prefix = "user") // 配置属性注解,参数前缀必须有值,值为我们定义的前缀 // 配置完上边的两个注解,下边把配置文件中的属性映射到下边类中去 public class User { private String username; private String password; public String getUsername() { return username; } public void setUsername(String username) { this.username = username; } public String getPassword() { return password; } public void setPassword(String password) { this.password = password; } }
调用属性
package com.lxc.sprint_boot_01.web; import com.lxc.sprint_boot_01.config.User; import org.springframework.beans.factory.annotation.Autowired; import org.springframework.beans.factory.annotation.Value; import org.springframework.stereotype.Controller; import org.springframework.web.bind.annotation.RequestMapping; import org.springframework.web.bind.annotation.ResponseBody; import javax.management.ValueExp; import javax.print.DocFlavor; import java.util.HashMap; import java.util.Map; // 声明控制层 @Controller public class IndexController { @Autowired // @Autowired 把User类注入进来 private User user; @RequestMapping(value = "/many") @ResponseBody public String many() { return "user为:"+user.getUsername() + ",密码为:"+user.getPassword(); } }
6、加上@ConfigurationProperties注解,会出现上边红色警告,想解决此问题需要加一个依赖包:
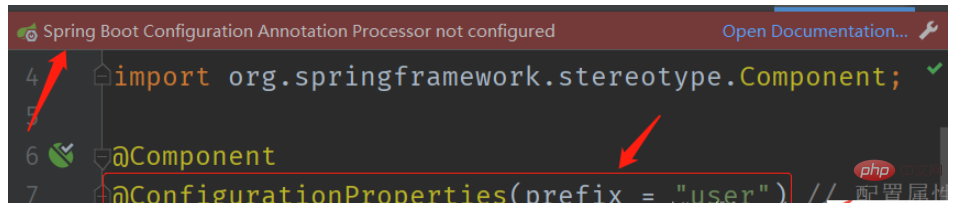
org.springframework.boot spring-boot-configuration-processor
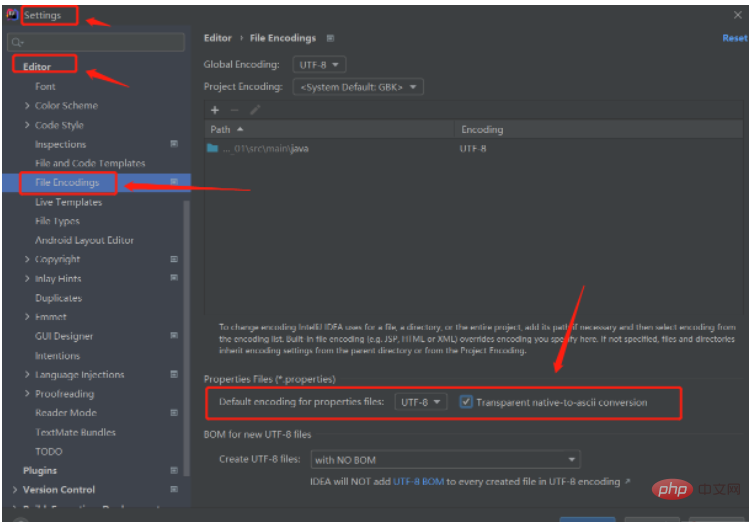
7、如果在application.properties中有中文,会出现乱码,在IDEA中解决中文乱码的问题:
8、在配置文件中属性的键值对不能有空格,否则解析会有问题!
9、spring-boo集成JSP
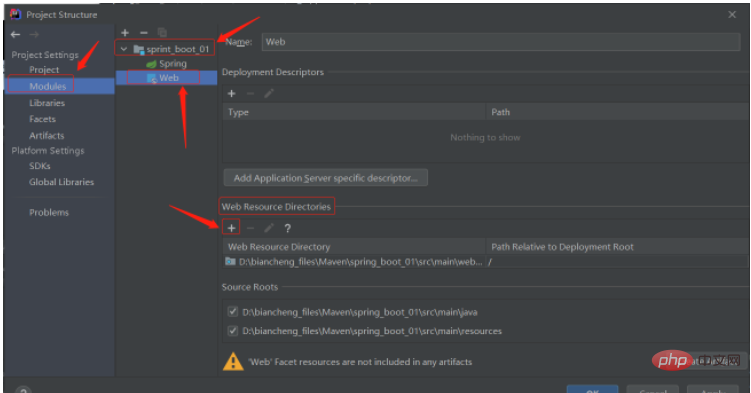
首先在main文件夹下创建 webapp文件夹,然后 点击file->project structure->Modules如下图:
然后在弹出的对话框中点击右边文件,找到我们刚才创建的webapp文件夹,确定即可,具体如下:
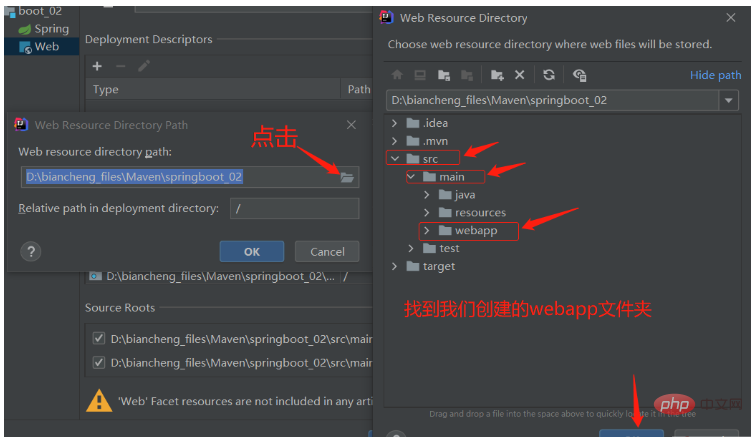
此时,webapp会变为如下样子。

配置pom.xml文件
(1)首先引入spring-boot内嵌的tomcat对jsp的解析依赖,不添加解析不了jsp
org.apache.tomcat.embed tomcat-embed-jasper
(2)spring-boot默认使用的是前端引擎thymeleaf,现在我们要使用springboot继承jsp,需要手动 指定jsp最后编译的路径,而且springboot继承jsp的路径是springboot规定好的位置: META-INF/resources
src/main/webapp META-INF/resources *.*
最后一步:在 application.properties 中配置视图解析器
# 配置视图解析器 spring.mvc.view.prefix=/ # 前缀 spring.mvc.view.suffix=.jsp # 后缀
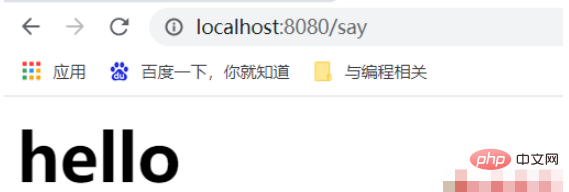
创建.jsp页面,测试:
<%@ page contentType="text/html;charset=UTF-8" language="java" %>Title ${msg}
package com.lxc.boot_02; import org.springframework.stereotype.Controller; import org.springframework.web.bind.annotation.RequestMapping; import org.springframework.web.servlet.ModelAndView; @Controller public class controller { // 写法一: @RequestMapping(value="/say") public ModelAndView say() { ModelAndView mv = new ModelAndView(); // 给视图传值 mv.addObject("msg", "hello"); // 设置 最终视图的名称 mv.setViewName("say"); return mv; } // 写法二:把视图和模型拆分开,返回一个视图(return的是视图的名字) @RequestMapping(value = "/index") public String index(Model model) { model.addAttribute("msg", "lxc;"); return "say"; } }
写法一:
写法二:
Das obige ist der detaillierte Inhalt vonSpringboot入门使用实例分析. Für weitere Informationen folgen Sie bitte anderen verwandten Artikeln auf der PHP chinesischen Website!


