

In this article, I'll be walking you through how we can perform volume testing on different applications. Before I demonstrate how we make volume testing using Jmeter, Here's my own understanding of what volume testing means and why we need to run volume testing on applications before deploying to production.

Volume testing: In a very simple term, Volume testing is designed to check how a system handles large amounts of Data. Different companies employ this method of testing to ensure that their service can manage an expected volume of data without significant degradation in performance or data loss.
Why do we perform volume testing?
Here are some reasons why we take this step:

Now that we have a little understanding of what volume testing is, let us proceed to the demonstration. For this demo, we will be using Apache JMeter. The Apache JMeter™ application is open-source software, a 100% pure Java application designed to load test functional behavior and measure performance. It was originally designed for testing Web Applications but has since expanded to other test functions. Here's a list of what we can test with Apache JMeter:
to install Apache we will need to install jdk8 or Above:
Download the Java Development kit here.
After downloading the package, unzip it in your program files directory:
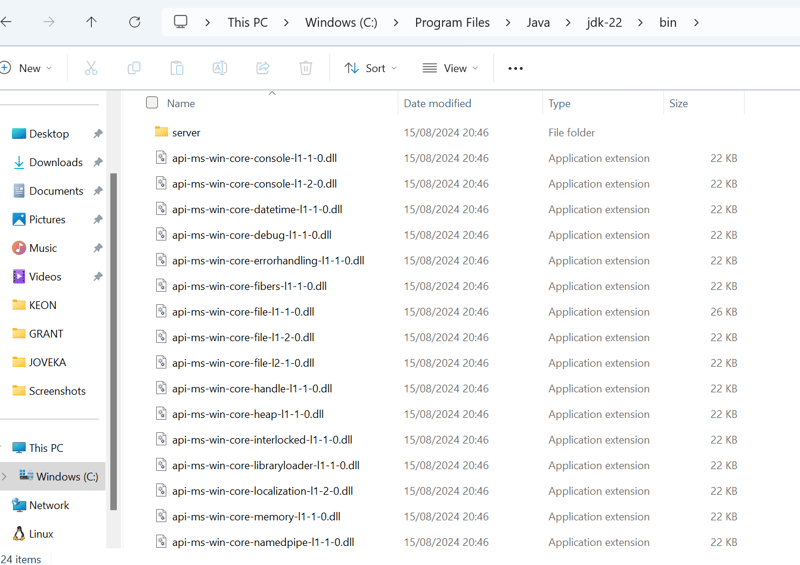
Set Java as an environment variable on your PC:
windows home>>>search "edit environment variables">> path>>>edit>> pass in the path to your java binary directory which should be "C:\Program Files\Java\jdk-22\bin", save and exit.
Up next is to install Apache Jmeter. Follow this link to download the zip file.
Extract the file on the program file directory on your C drive "C:\Program Files\apachejmeter".
to navigate to the directory of the JMeter installation and execute the Apachejmeter execution file on your windows powershell to start the service.
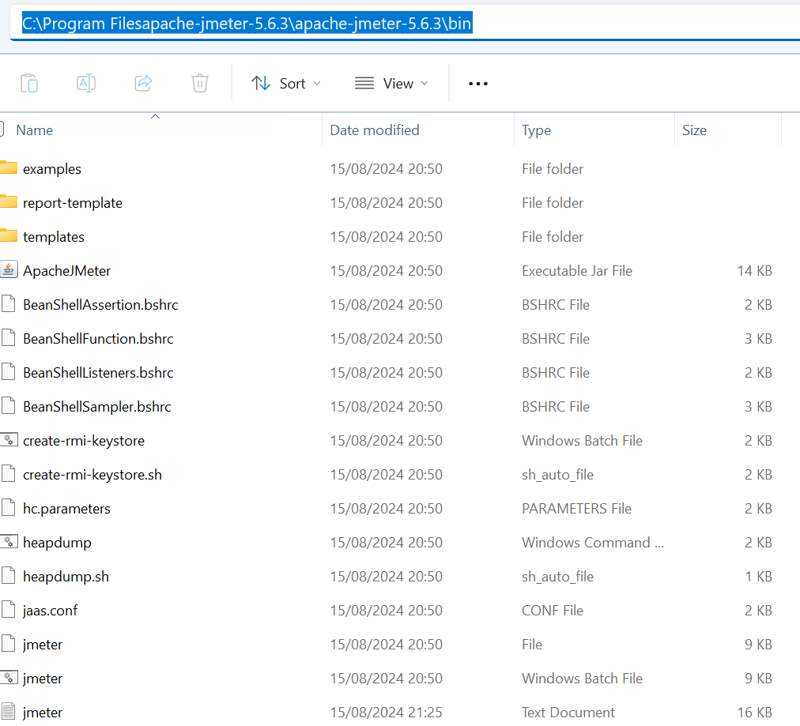
Run this command but replace it with the absolute path of your jar execution file location:
PS C:\Program Filesapache-jmeter-5.6.3\apache-jmeter-5.6.3\bin> .\ApacheJMeter.jar
Jmeter will automatically start. Here are some terms you should know when working with Jmeter:
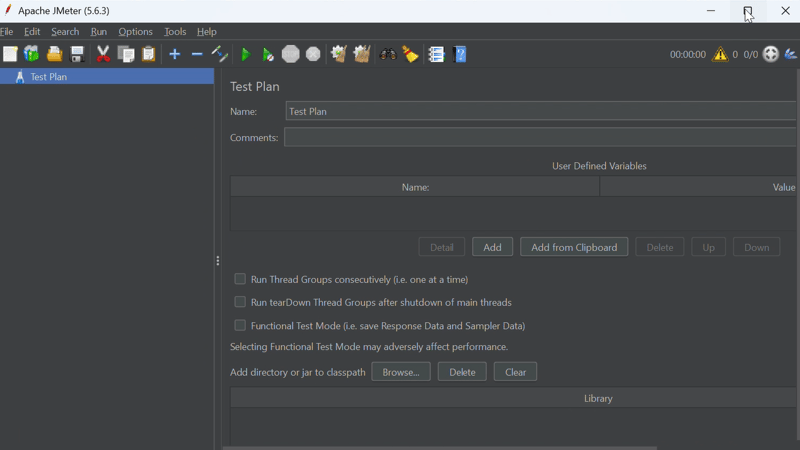
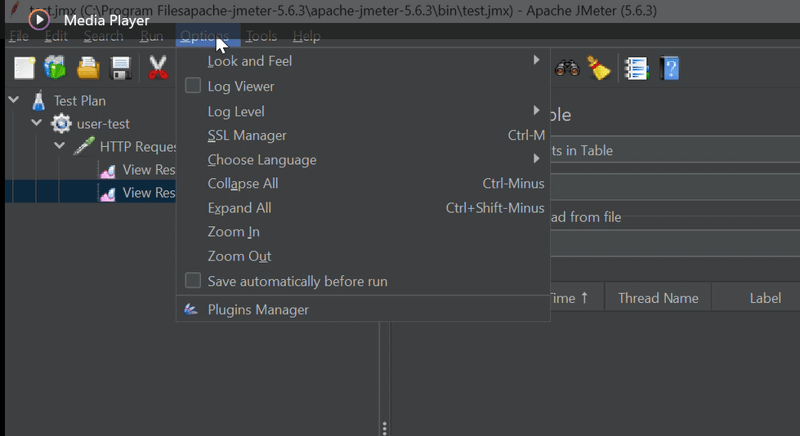
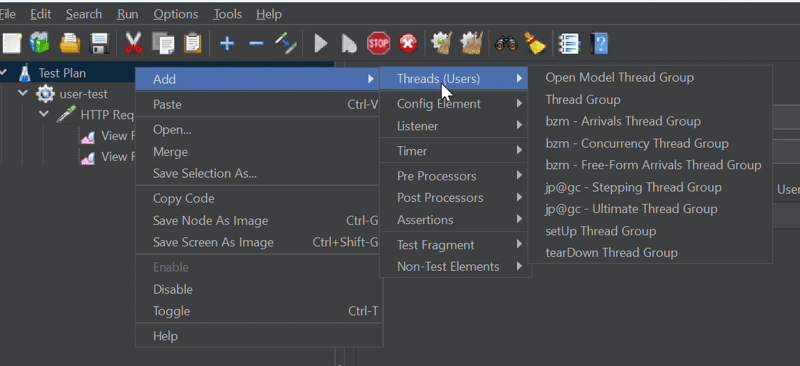
Search for "Custom Thread Groups" in available plugin, select and scroll down the click "apply changes and restart". After this you will be able to see the multiple thread groups in jmeter like this:
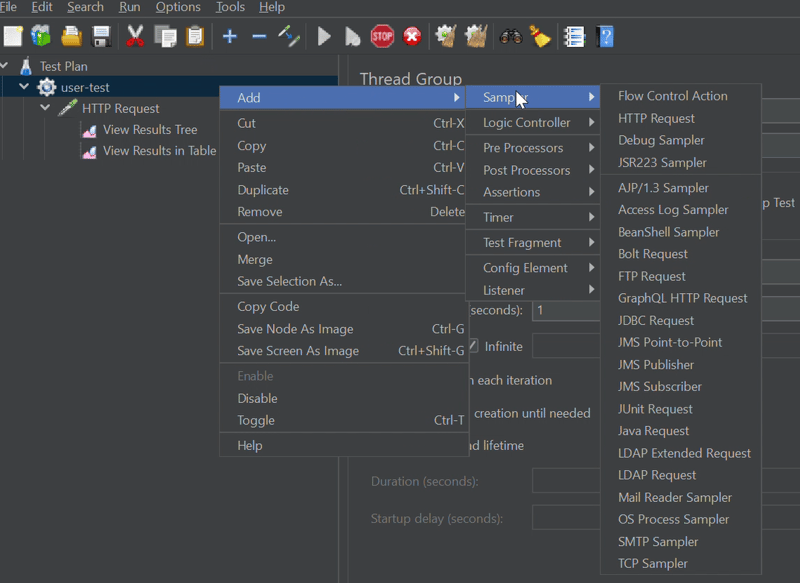
Das Bild oben zeigt eine ganze Reihe von Samplern, die von Jmeter unterstützt werden und Ihren Anforderungen entsprechen.
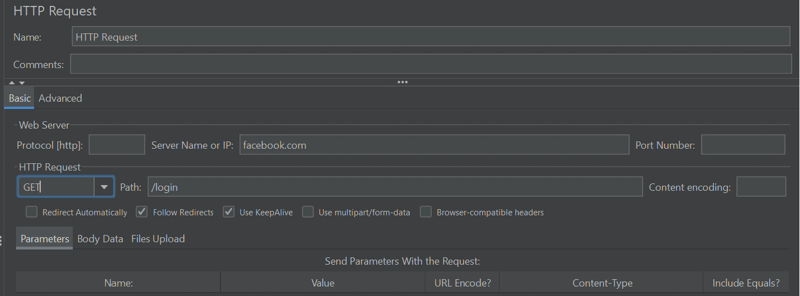
Hier ist ein Beispiel dafür, wie ein HTTP-Request-Sampler mit allen notwendigen Details aussieht.
DEMO:
Um diese Demo zu starten, stellen Sie sicher, dass Sie alle erforderlichen Installationen abgeschlossen haben.
Zuerst erstellen wir einen Testplan mit dem Namen WordPress-Test:

Als nächstes erstellen wir die Threadgruppe:

Eine Erläuterung der in der Thread-Gruppe definierten Einstellungen. Die Thread-Gruppe hat 1000 Benutzer, 20 senden nach 0 Sekunden auf einmal eine GET-Anfrage. Fügen Sie dann alle 15 Sekunden 10 Anfragen hinzu, wobei die Anlaufzeit 5 Sekunden beträgt. Nachdem 1000 Anfragen gesendet wurden, warten Benutzer 60 Sekunden lang, bevor sie endgültig mit dem Senden von Anfragen aufhören. Die abnehmende Rate beträgt 5 Benutzer/Sekunde.
Nachdem wir die Thread-Gruppe konfiguriert haben, fügen wir einen HTTP-Anfrage-Sampler hinzu, um auf GET-Anfragen auf dem angegebenen Pfad zu warten:

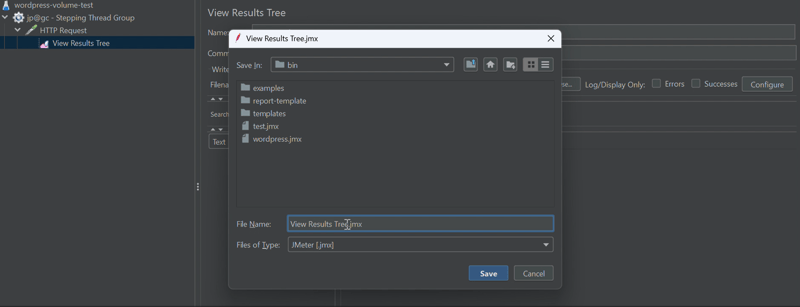
Speichern Sie Ihre Konfiguration und fügen Sie einen Listener hinzu, um das Ergebnis entweder im Baum- oder Tabellenformat anzuzeigen. Klicken Sie auf die grüne Schaltfläche „Play“, um mit dem Testen zu beginnen.
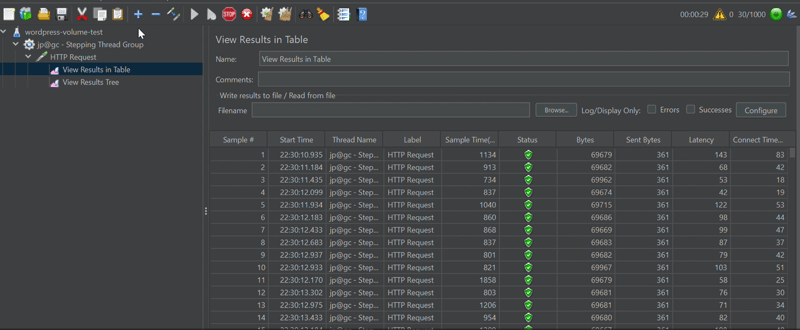
Los geht's! So führen wir Volumentests mit der jp@gc – Stepping Thread Group durch.
Damit sind wir am Ende dieses Artikels angelangt. Wenn Sie Fragen haben, können Sie mich unter X (FKA Twitter) @marviigrey kontaktieren. Vielen Dank für Ihre Zeit, Auf Wiedersehen.
Das obige ist der detaillierte Inhalt vonVolumentests mit Apache Jmeter unter Windows.. Für weitere Informationen folgen Sie bitte anderen verwandten Artikeln auf der PHP chinesischen Website!
 Eine vollständige Liste der CAD-Tastenkombinationen
 Tutorial zur Konfiguration von Java-Umgebungsvariablen
 So schließen Sie die App-Ressourcenbibliothek
 So entfernen Sie die TikTok-Wasserzeichen anderer Personen aus TikTok-Videos
 So überprüfen Sie die Mac-Adresse
 Eine vollständige Liste der Betriebs- und Wartungsbefehle für Linux-Server
 Was ist eine Sternnetzwerktopologie?
 Dateinamen unter Linux ändern


